Project 1: Images of the Russian Empire
Colorizing the Prokudin-Gorskii photo collection
Inroduction
In this project, I implemented a simple script that attempts to colorize the pictures taken by Prokudin-Gorskii as early as 1907, prior to the invention of color photography. These pictures are taken three in a group, each recorded with either a red, green or blue filter. Our goal is to recombine these pictures into one and produce a vivid color picture.
Single Scale Implementation
Firstly, we need to find a plausible way of overlaying these pictures. Since these pictures are not taken digitally, they are essentially three pictures stick together. Our first step is to chuck them into three channels, R, G, and B. This can be easily done by dividing the picture evenly in vertical direction:


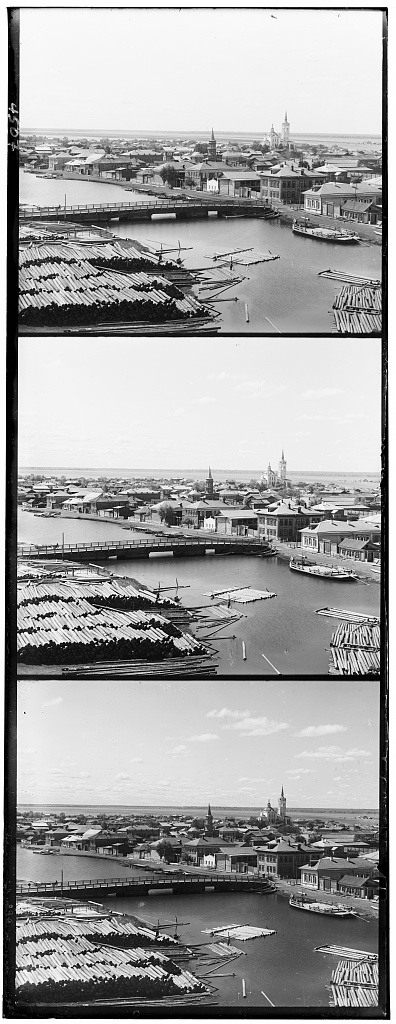
After getting the three images, we convert them into float so that it is easier to process. In my algorithm, there is one parameter called crop-r that is core of my design. crop-r is the crop ratio that will be applied to the R channel, which takes the center crop-r portion of the image. The two other channels are aligned to the R channel.
To align the two other channels, the signle-scale implementation applies a sliding window of the same size as the cropped R channel images to the G and B channels. The difference in size decides the size of the search gird. More formally, it will become a (W * (1 - crop-r), H * (1 - crop-r)) grid. The crop ratio used here is 0.85 to avoid boundaries. A larger value such as 0.9 also works but would include considerably more boundary portion and damage the aesthetics of the final product. Once the grid is created, the similarity between the sliding window and the R channel is calculated as (Here, \(\mathrm{img}_1\) refers to the sliding window and the \(\mathrm{img}_2\) refers to the R channel):
In other words, we calculate the dot product between the normalized sliding window and the R channel. The idea is that we do not care about the absolute scale of different channels. The only requirement we have here is that the relatively bright/dark areas in two images must match. In fact, I tried different metrics such as cosine similarities and Frobenius distances. They did not produce as high quality image as the current version. This is because there are images that have very vibrant colors, which leads to a significant difference between channels. As a side comment, the reason why \(\mathrm{img}_2\) does not have to be normalized is because it is a constant and normalization is a global affine mapping to the similarities and won’t change the maximum.
After that, the channels are overlaid to produce the final colored pictures:


The offsets presented are relative to the R channel.
| channel | cathedral | monastery | tobolsk |
|---|---|---|---|
| G offset | (7, 1) | (6, 1) | (4, 1) |
| B offset | (12, 3) | (3, 2) | (6, 3) |
Multi-scale Implementation
However, as you may have noticed, this method scales as \(O(W^2H^2)\) if crop ratio is constant: one \(HW\) from the grid size, and another \(HW\) from the similarity score calculation. This is prohibitively slow. To address this issue, I implemented a multi-scale version of the aligning algorithm. The idea is very simple: we downsample the image, find the optimal offsets, and perform a fine-grained search near the optimal offsets found in downsampled version.
To be more precise, each time, the image is downsampled by a factor of scale, this recursive call ends as the depth parameter is reached. We then perform a full grid search downsampled version (the top of the pyramid). The optimal offset is then divided by the scale to go up by one layer, and the grid of the upper layer is no longer a full search but rather a scale portion of the full grid centerred around the optimal offset found by the recursive call. This design keeps the grid size constant, which after experiment balance well between quality and speed. The runtime to process these pictures is about 20 seconds.
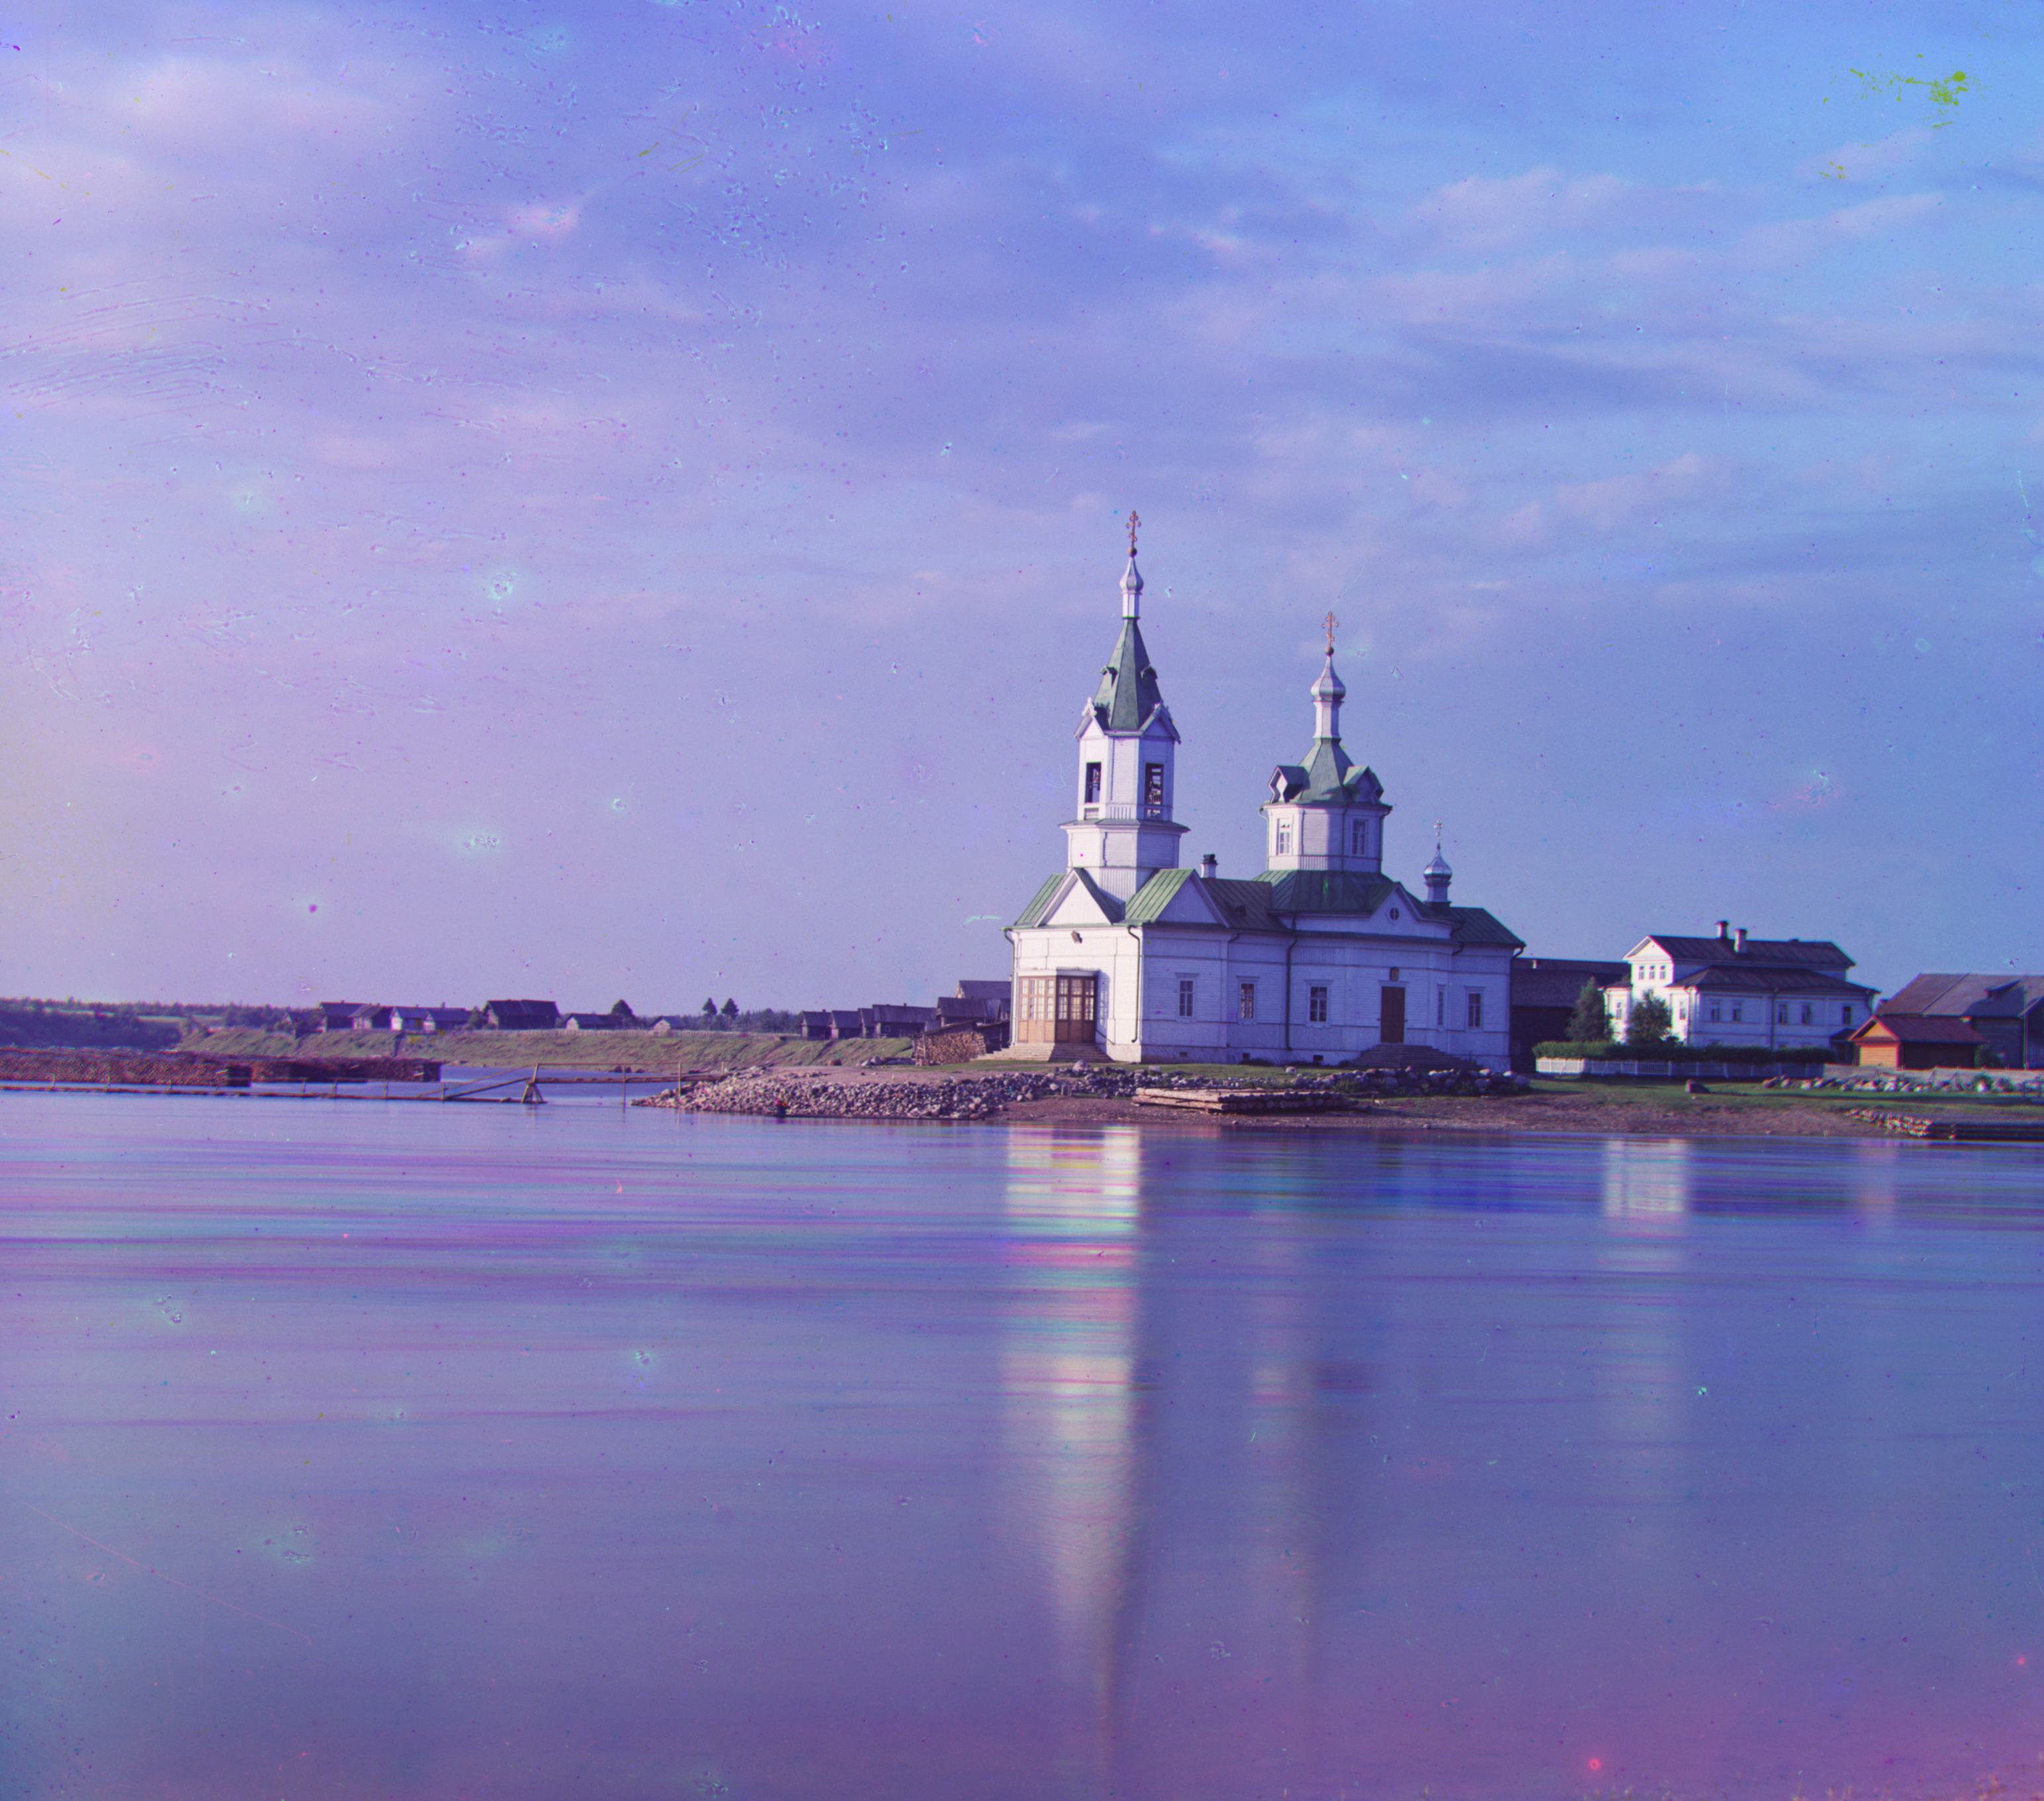
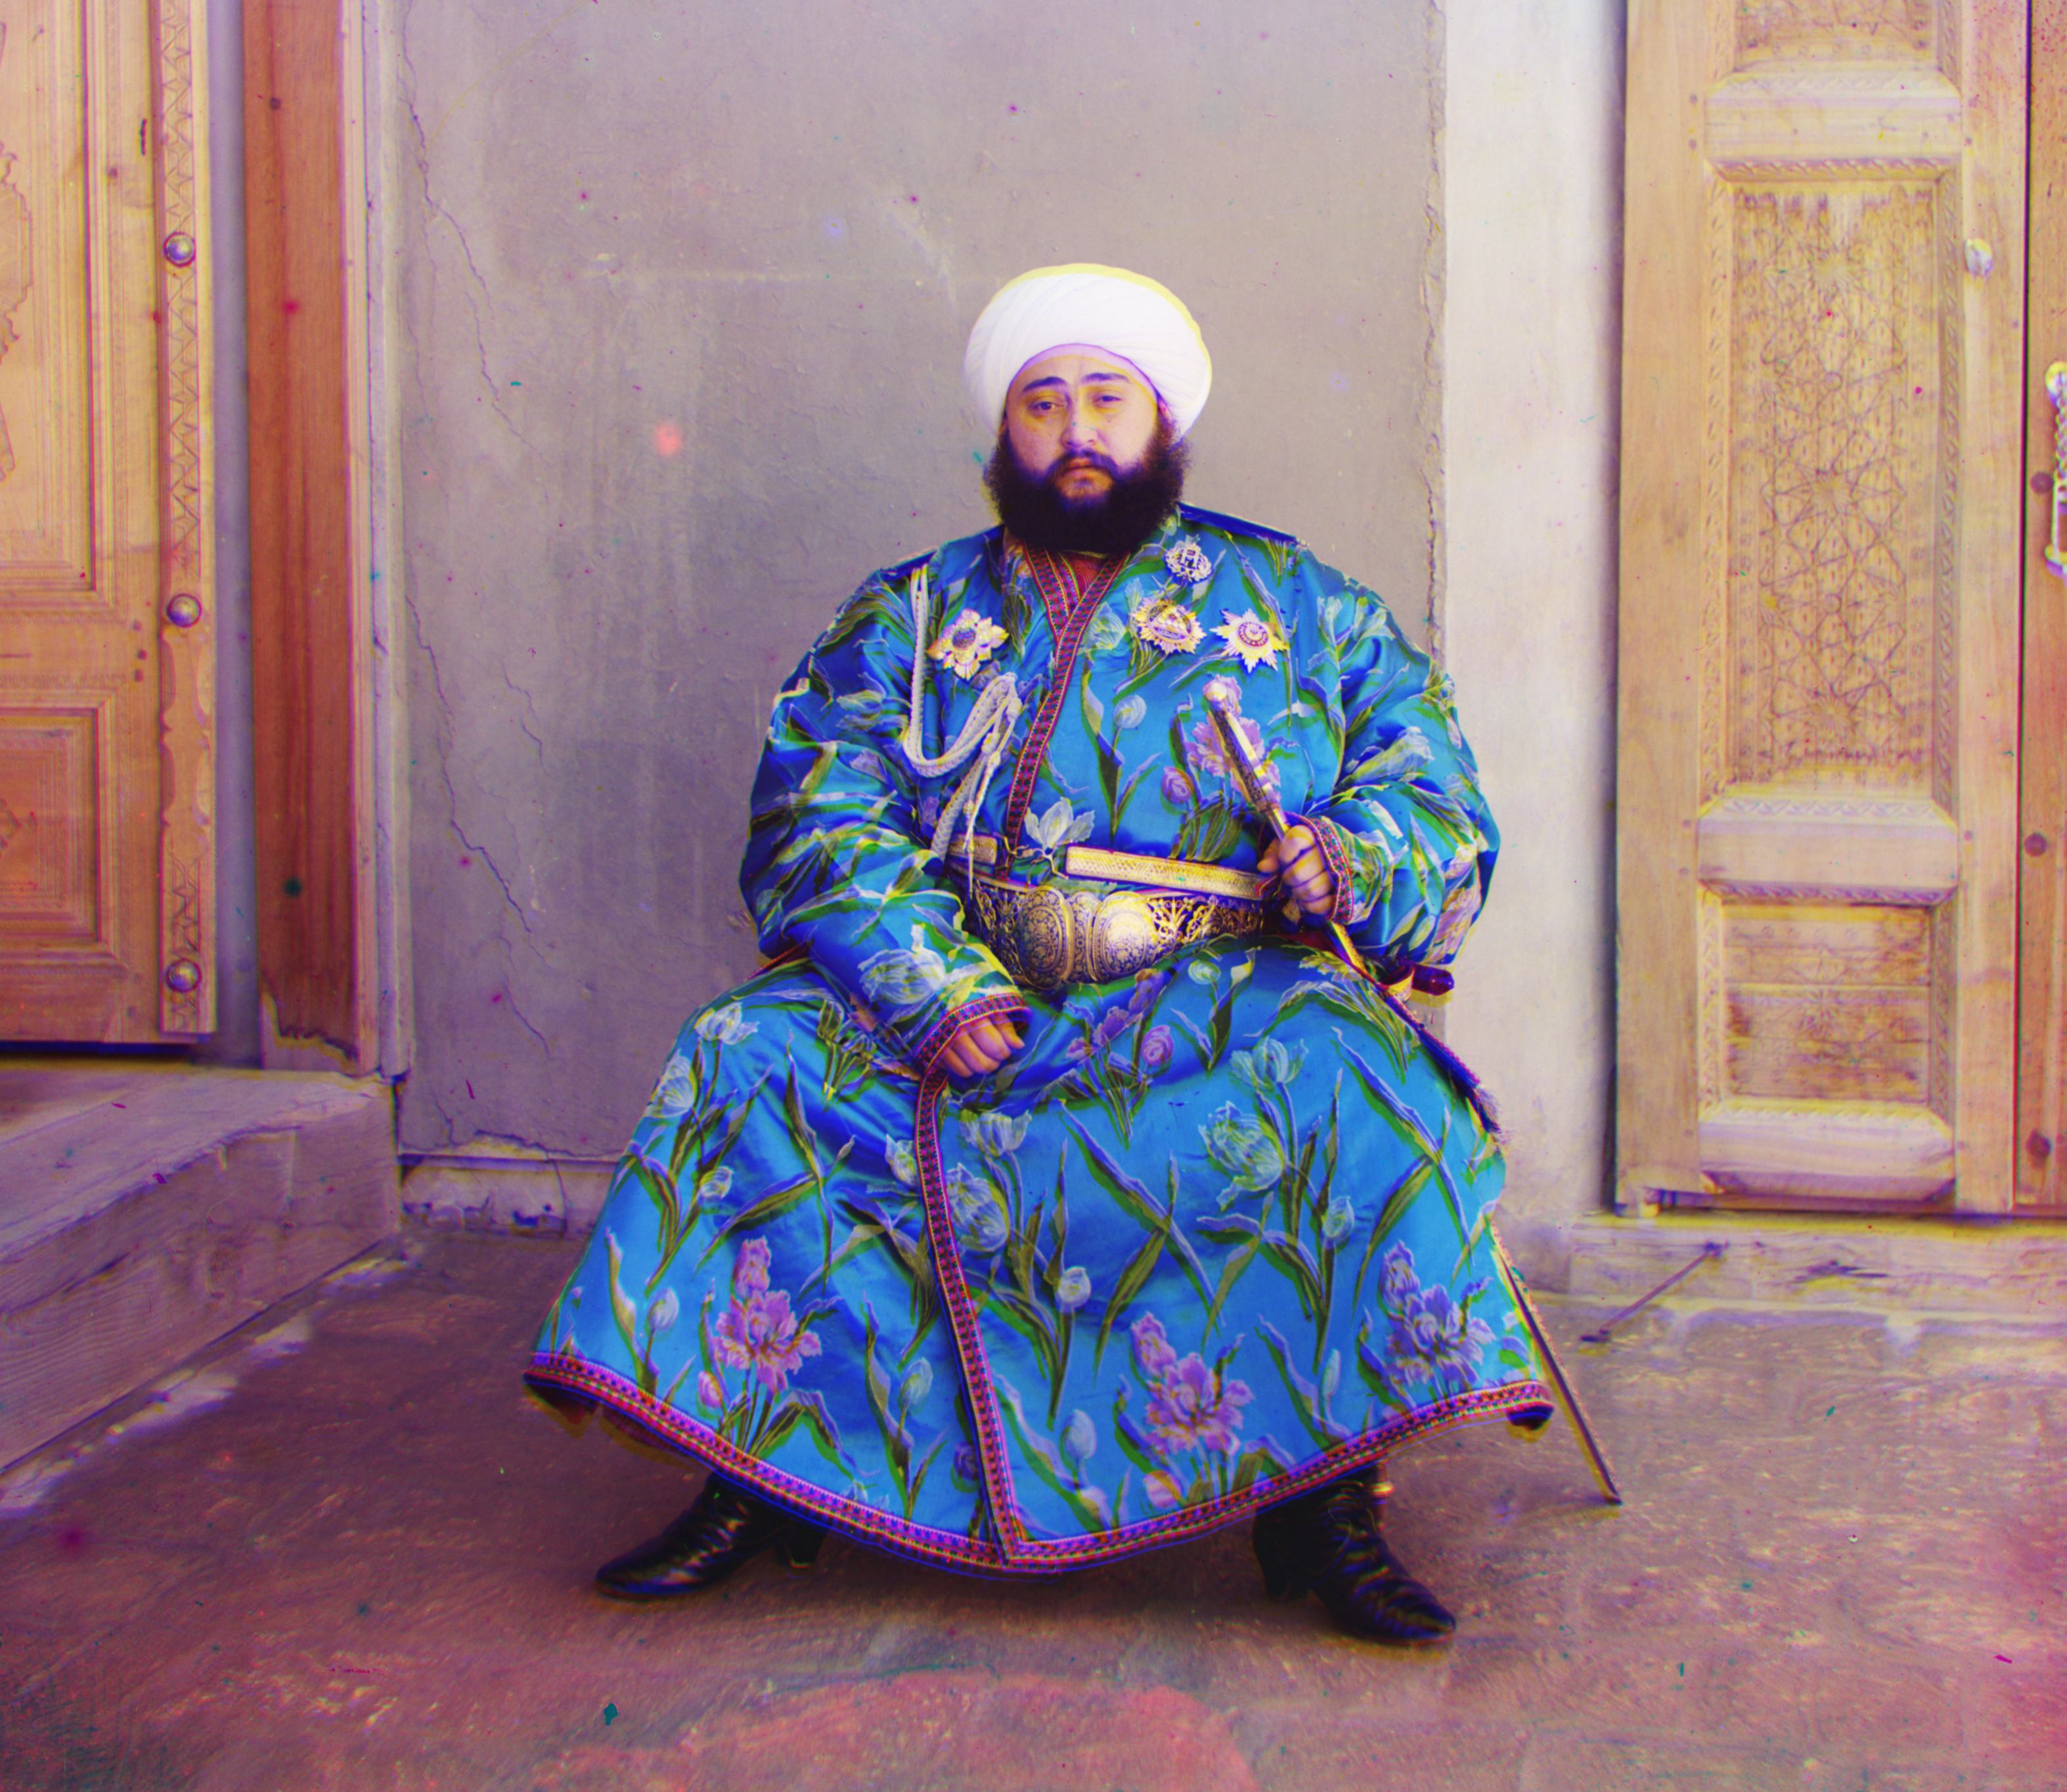
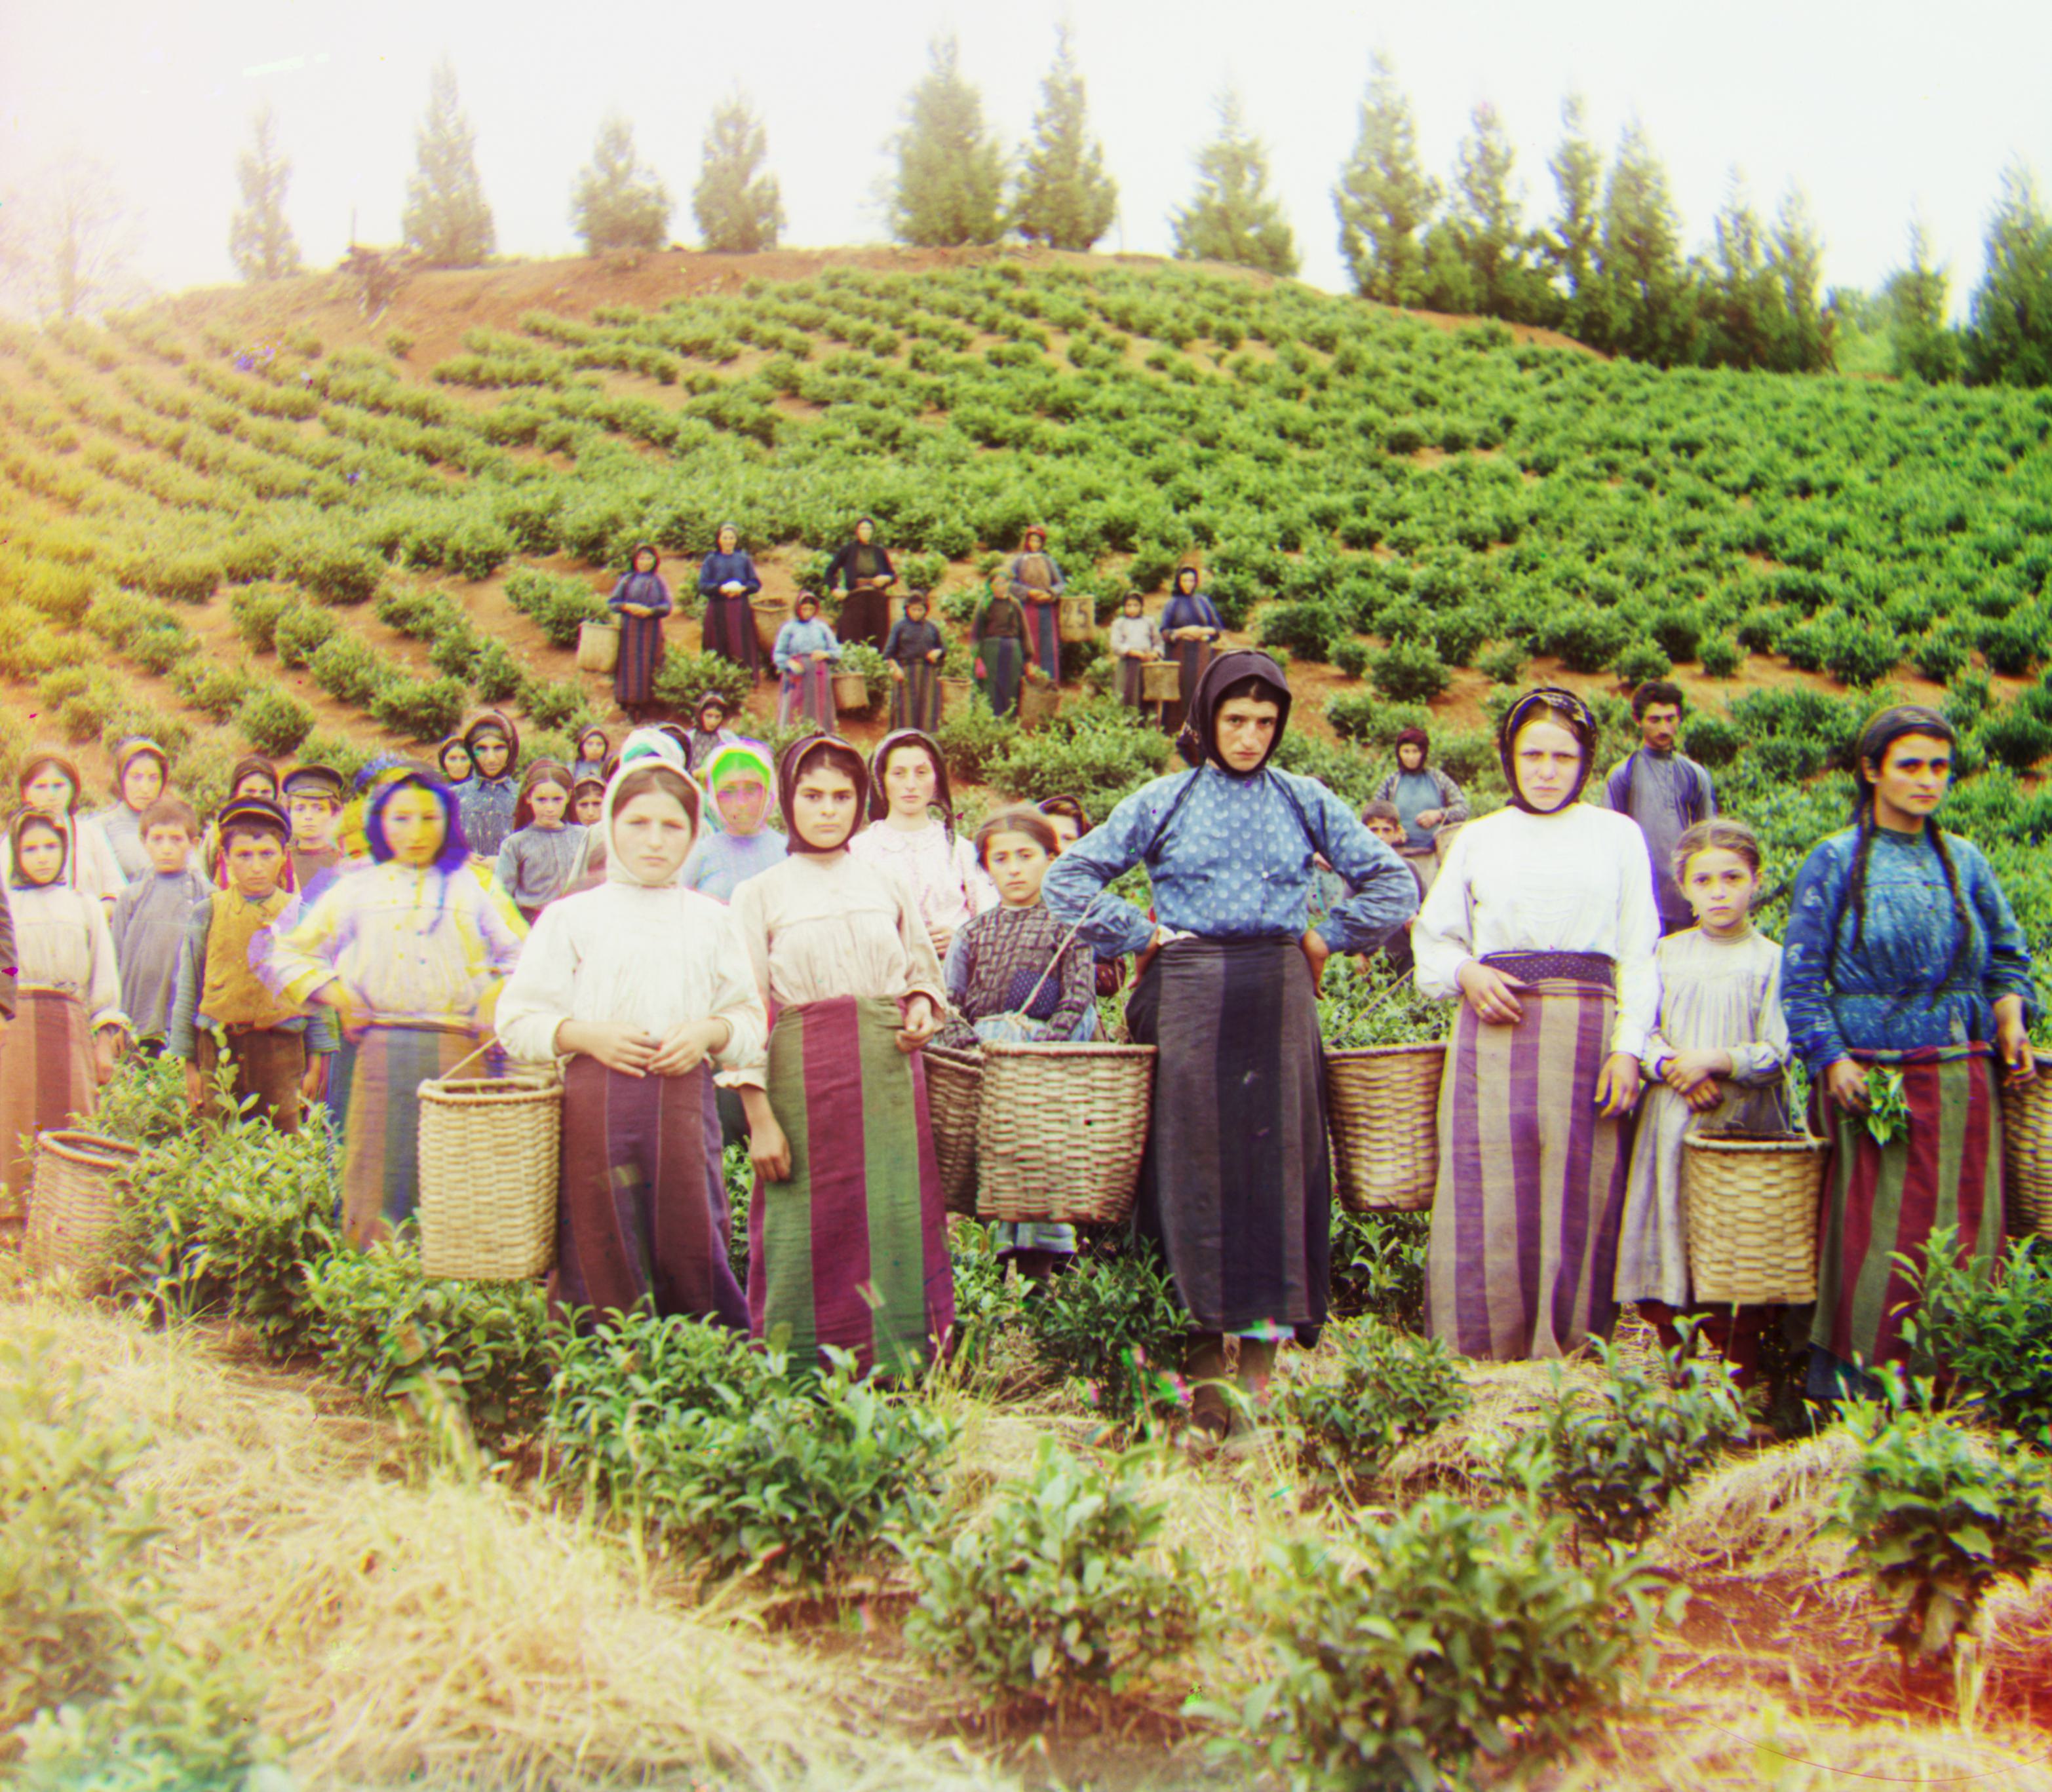


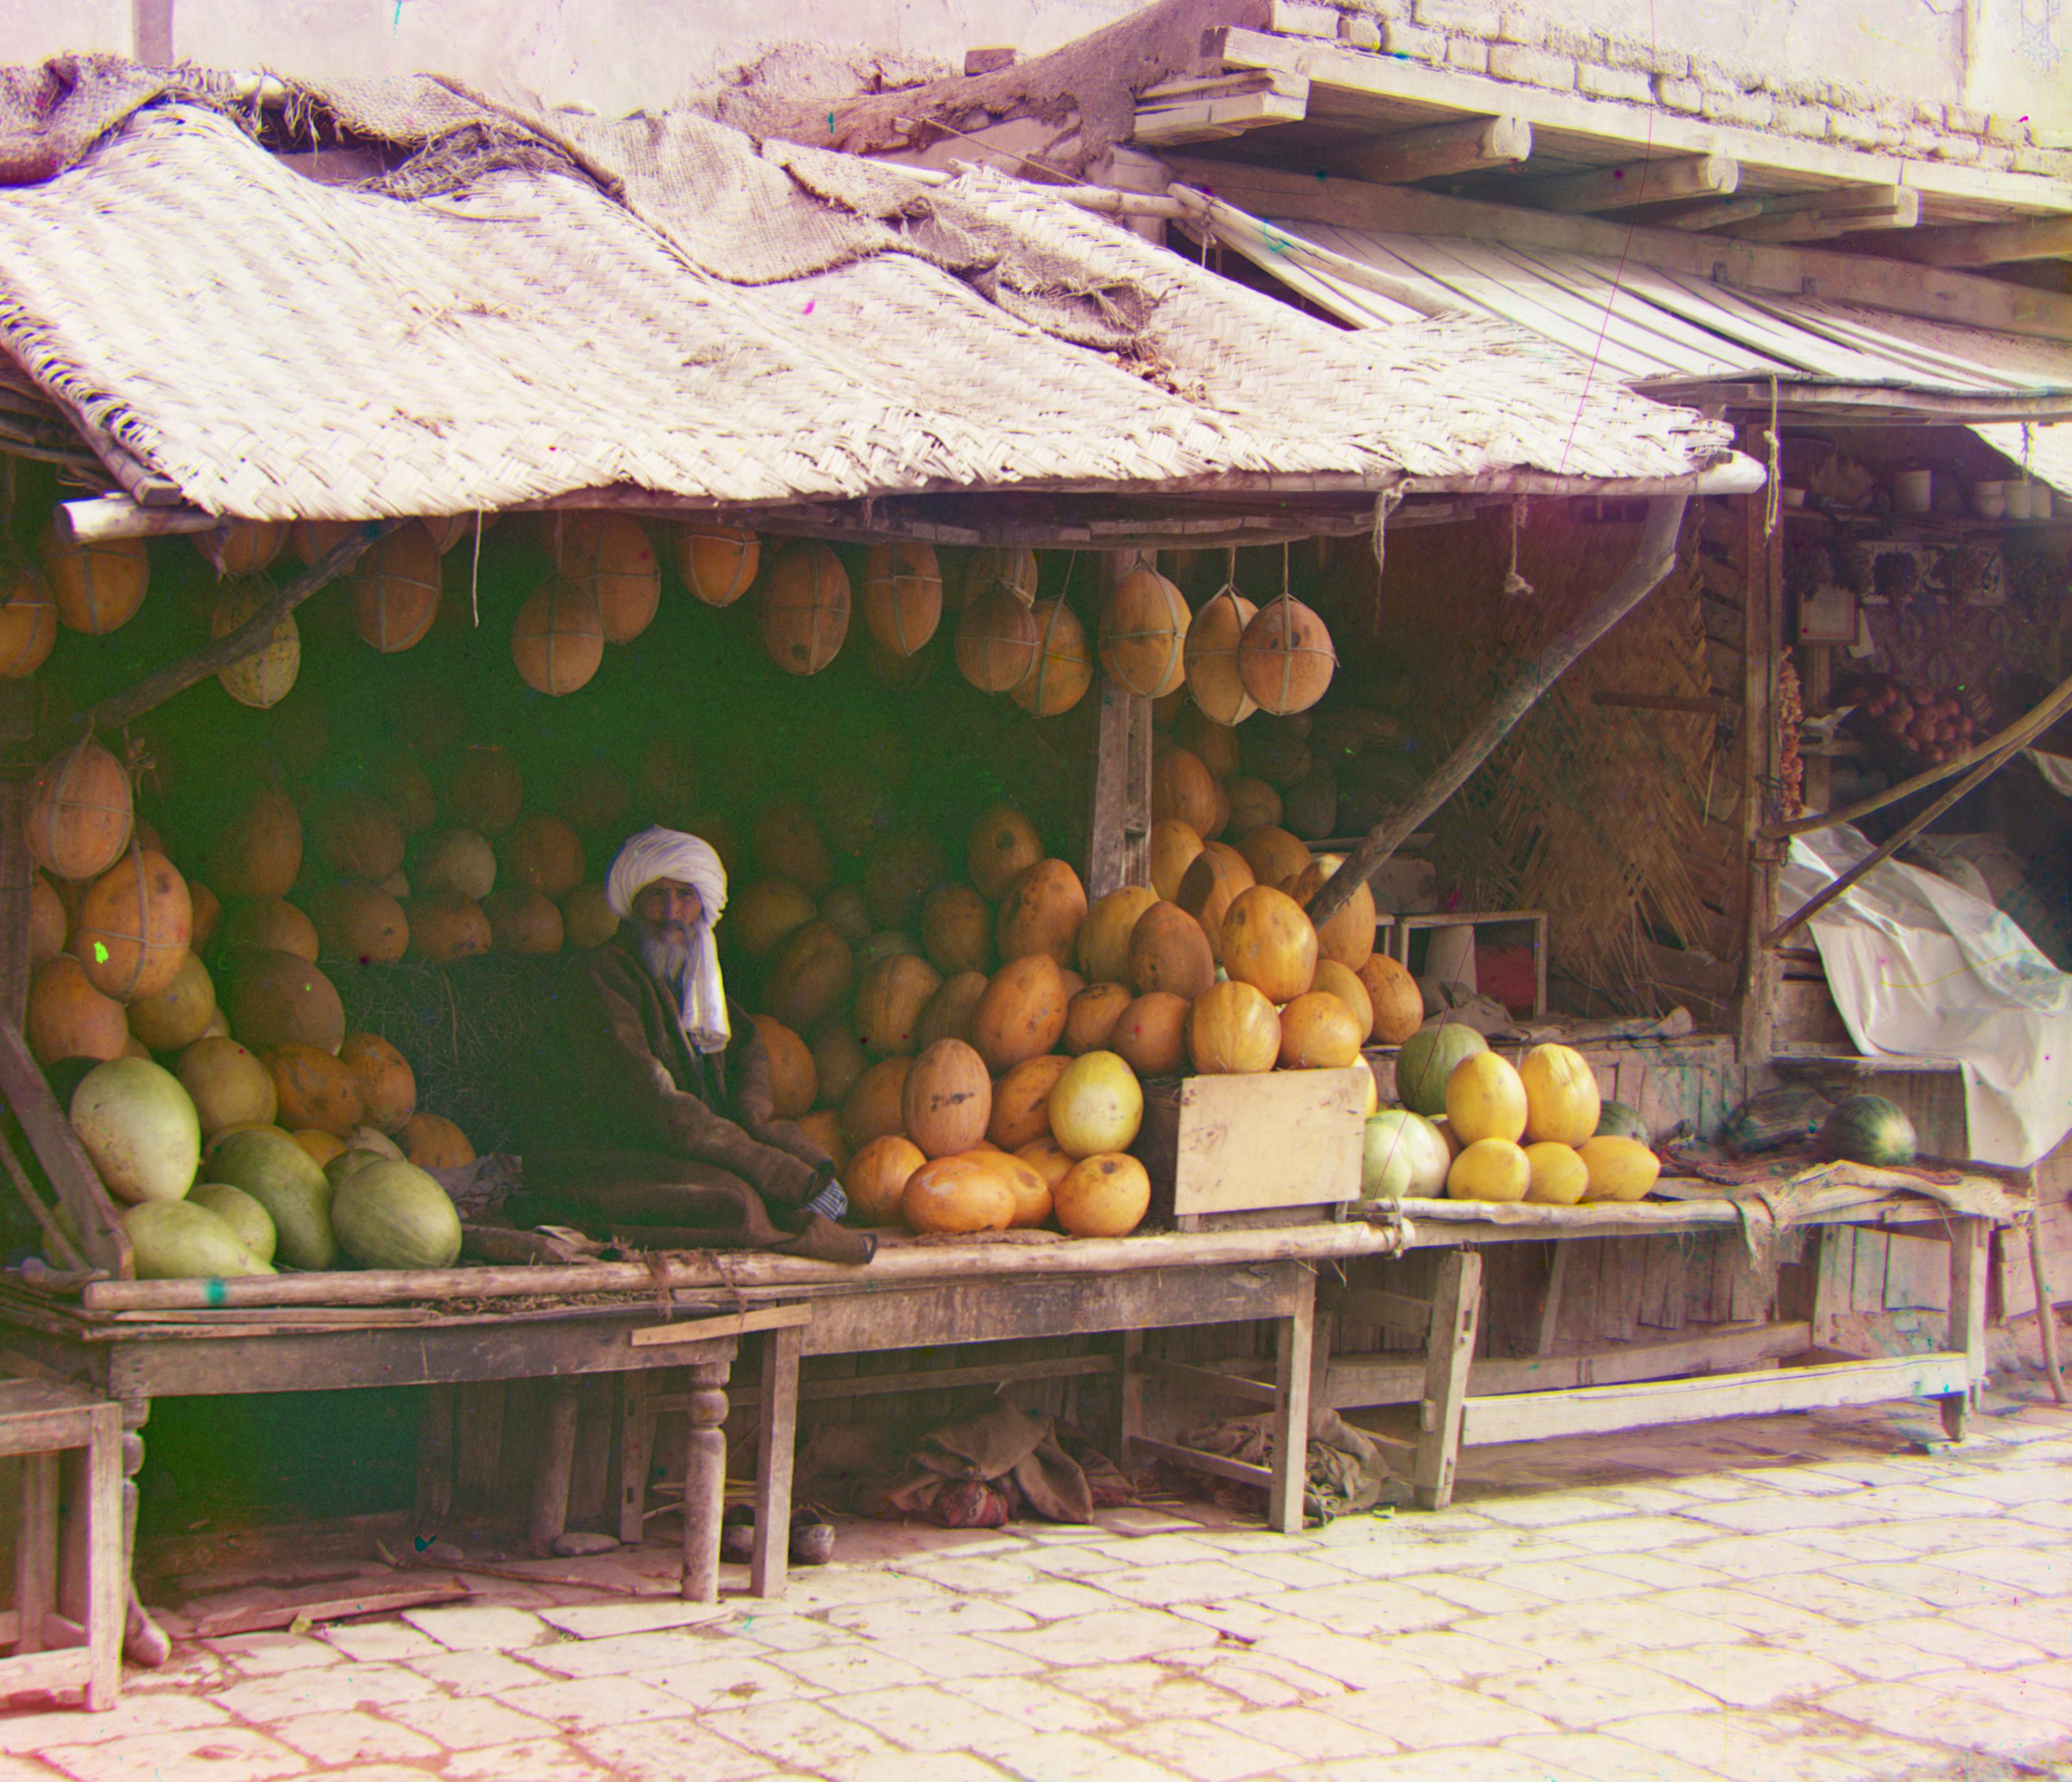
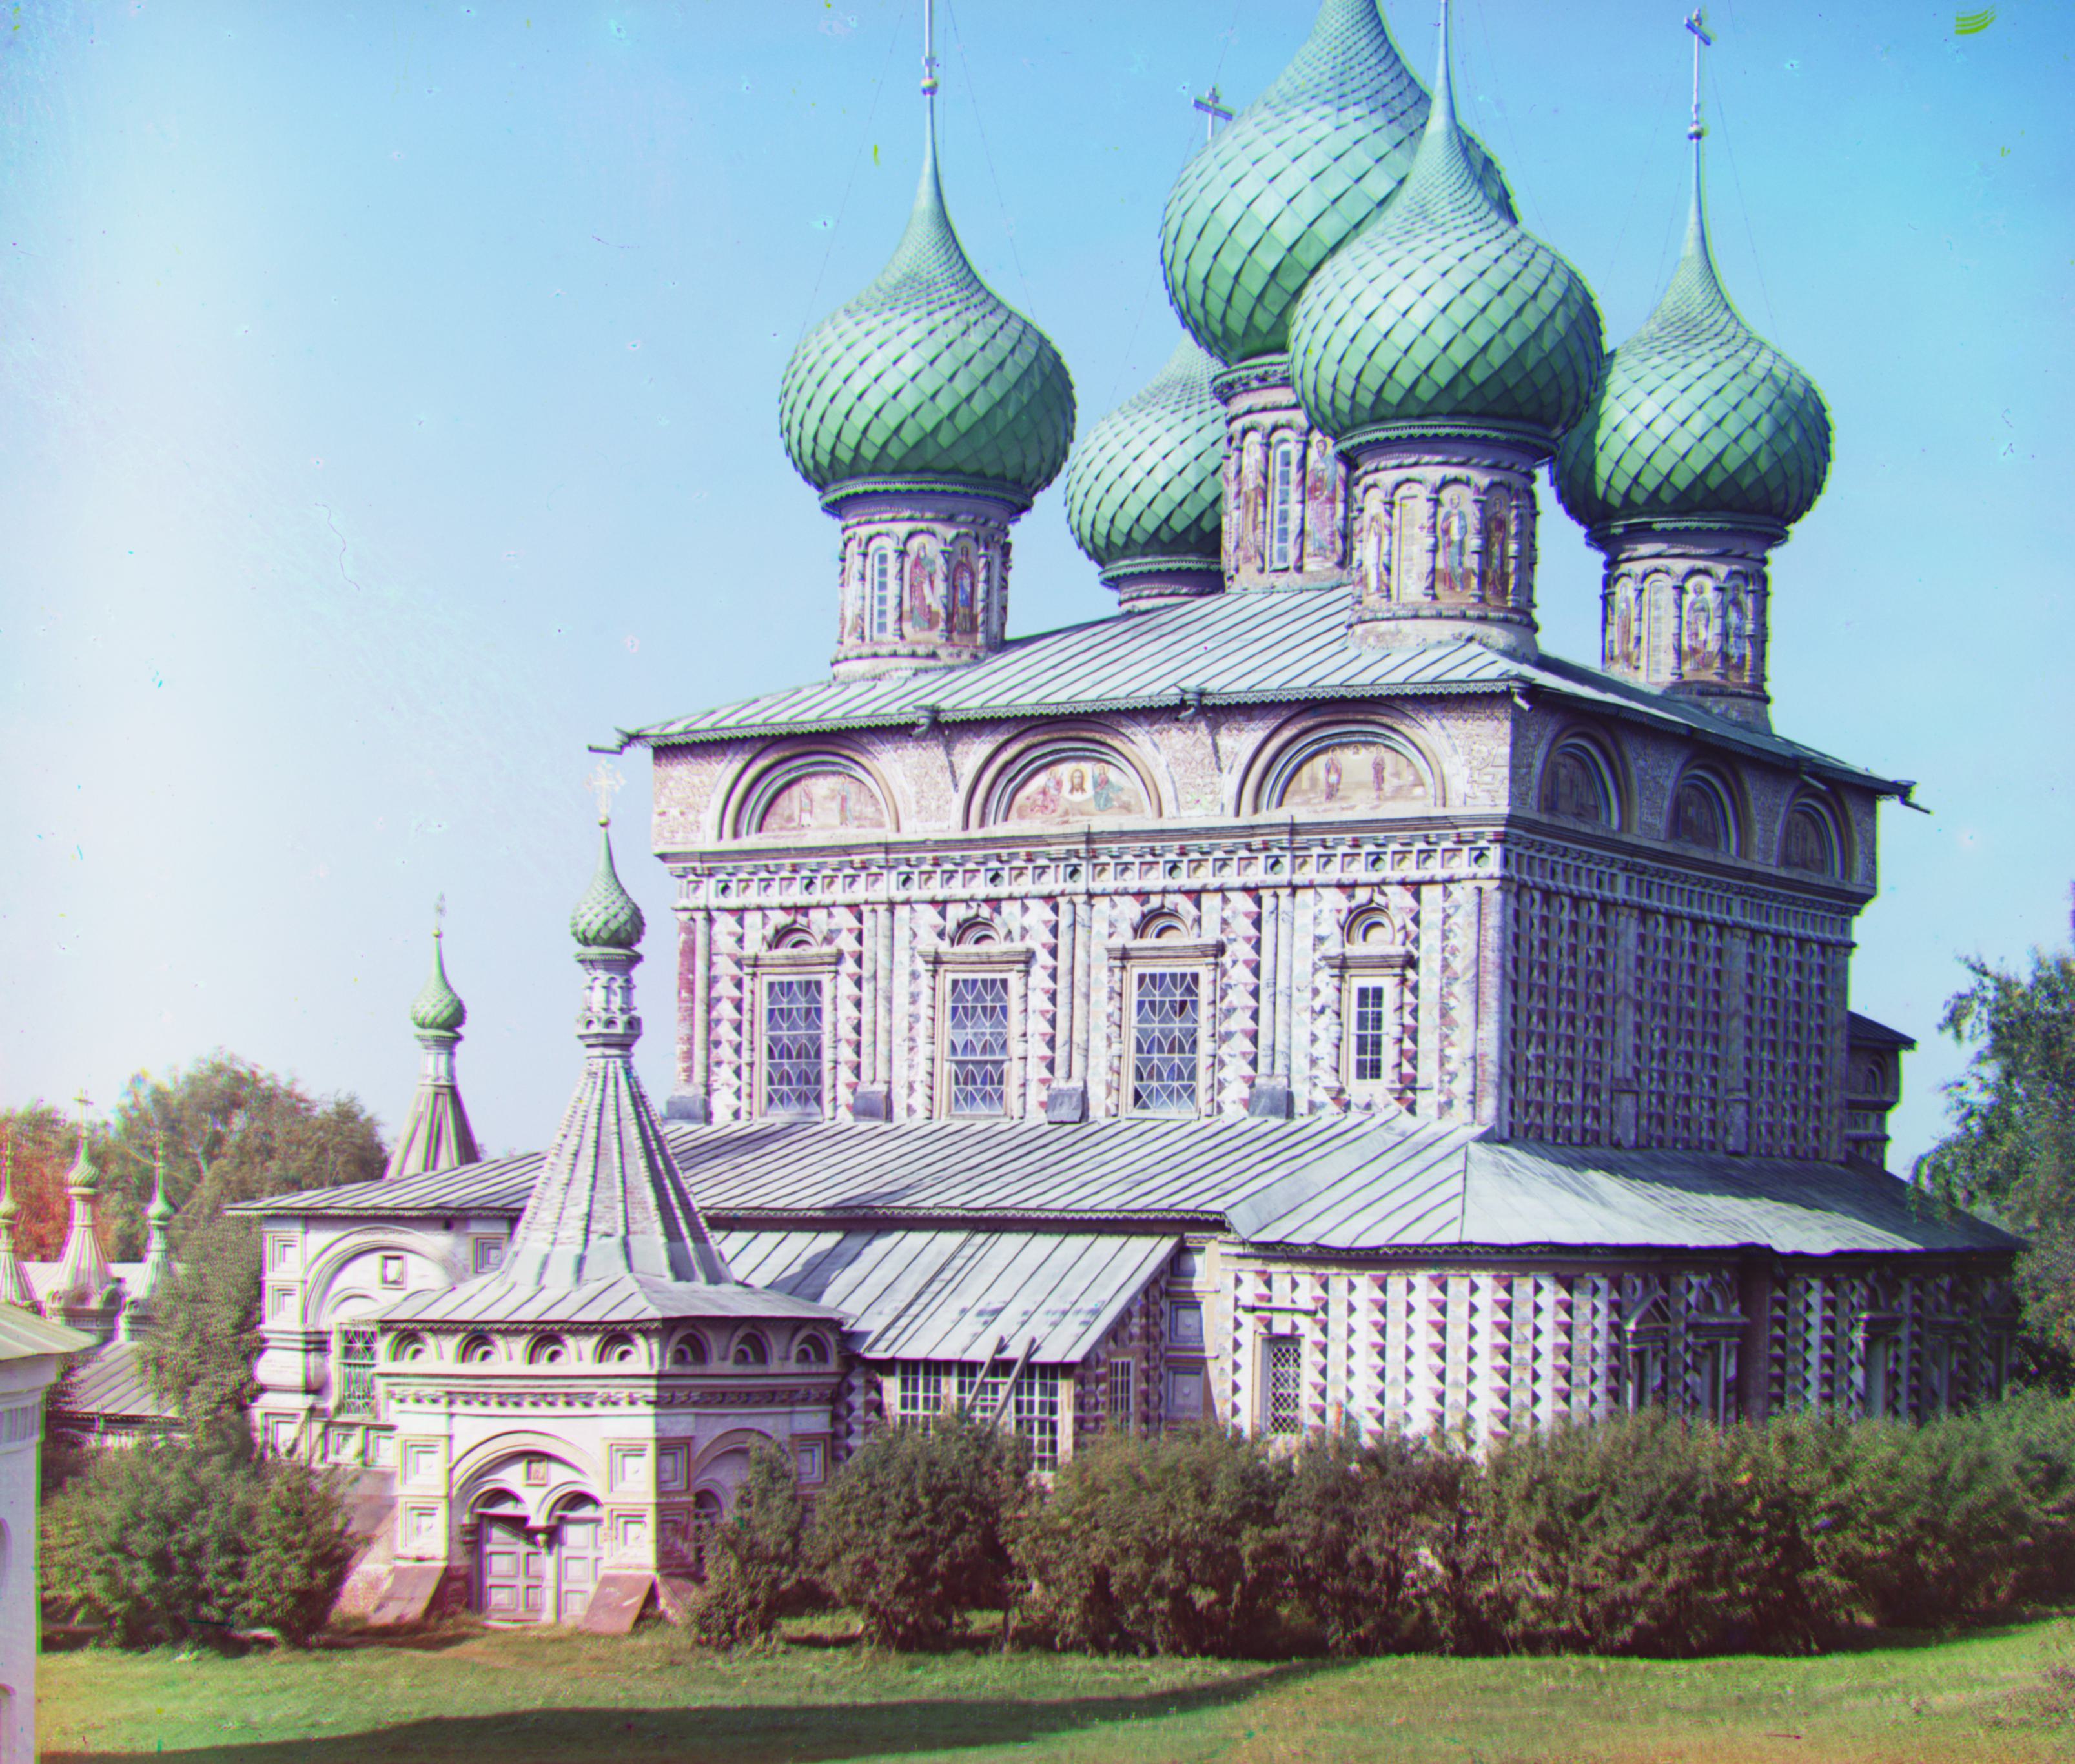
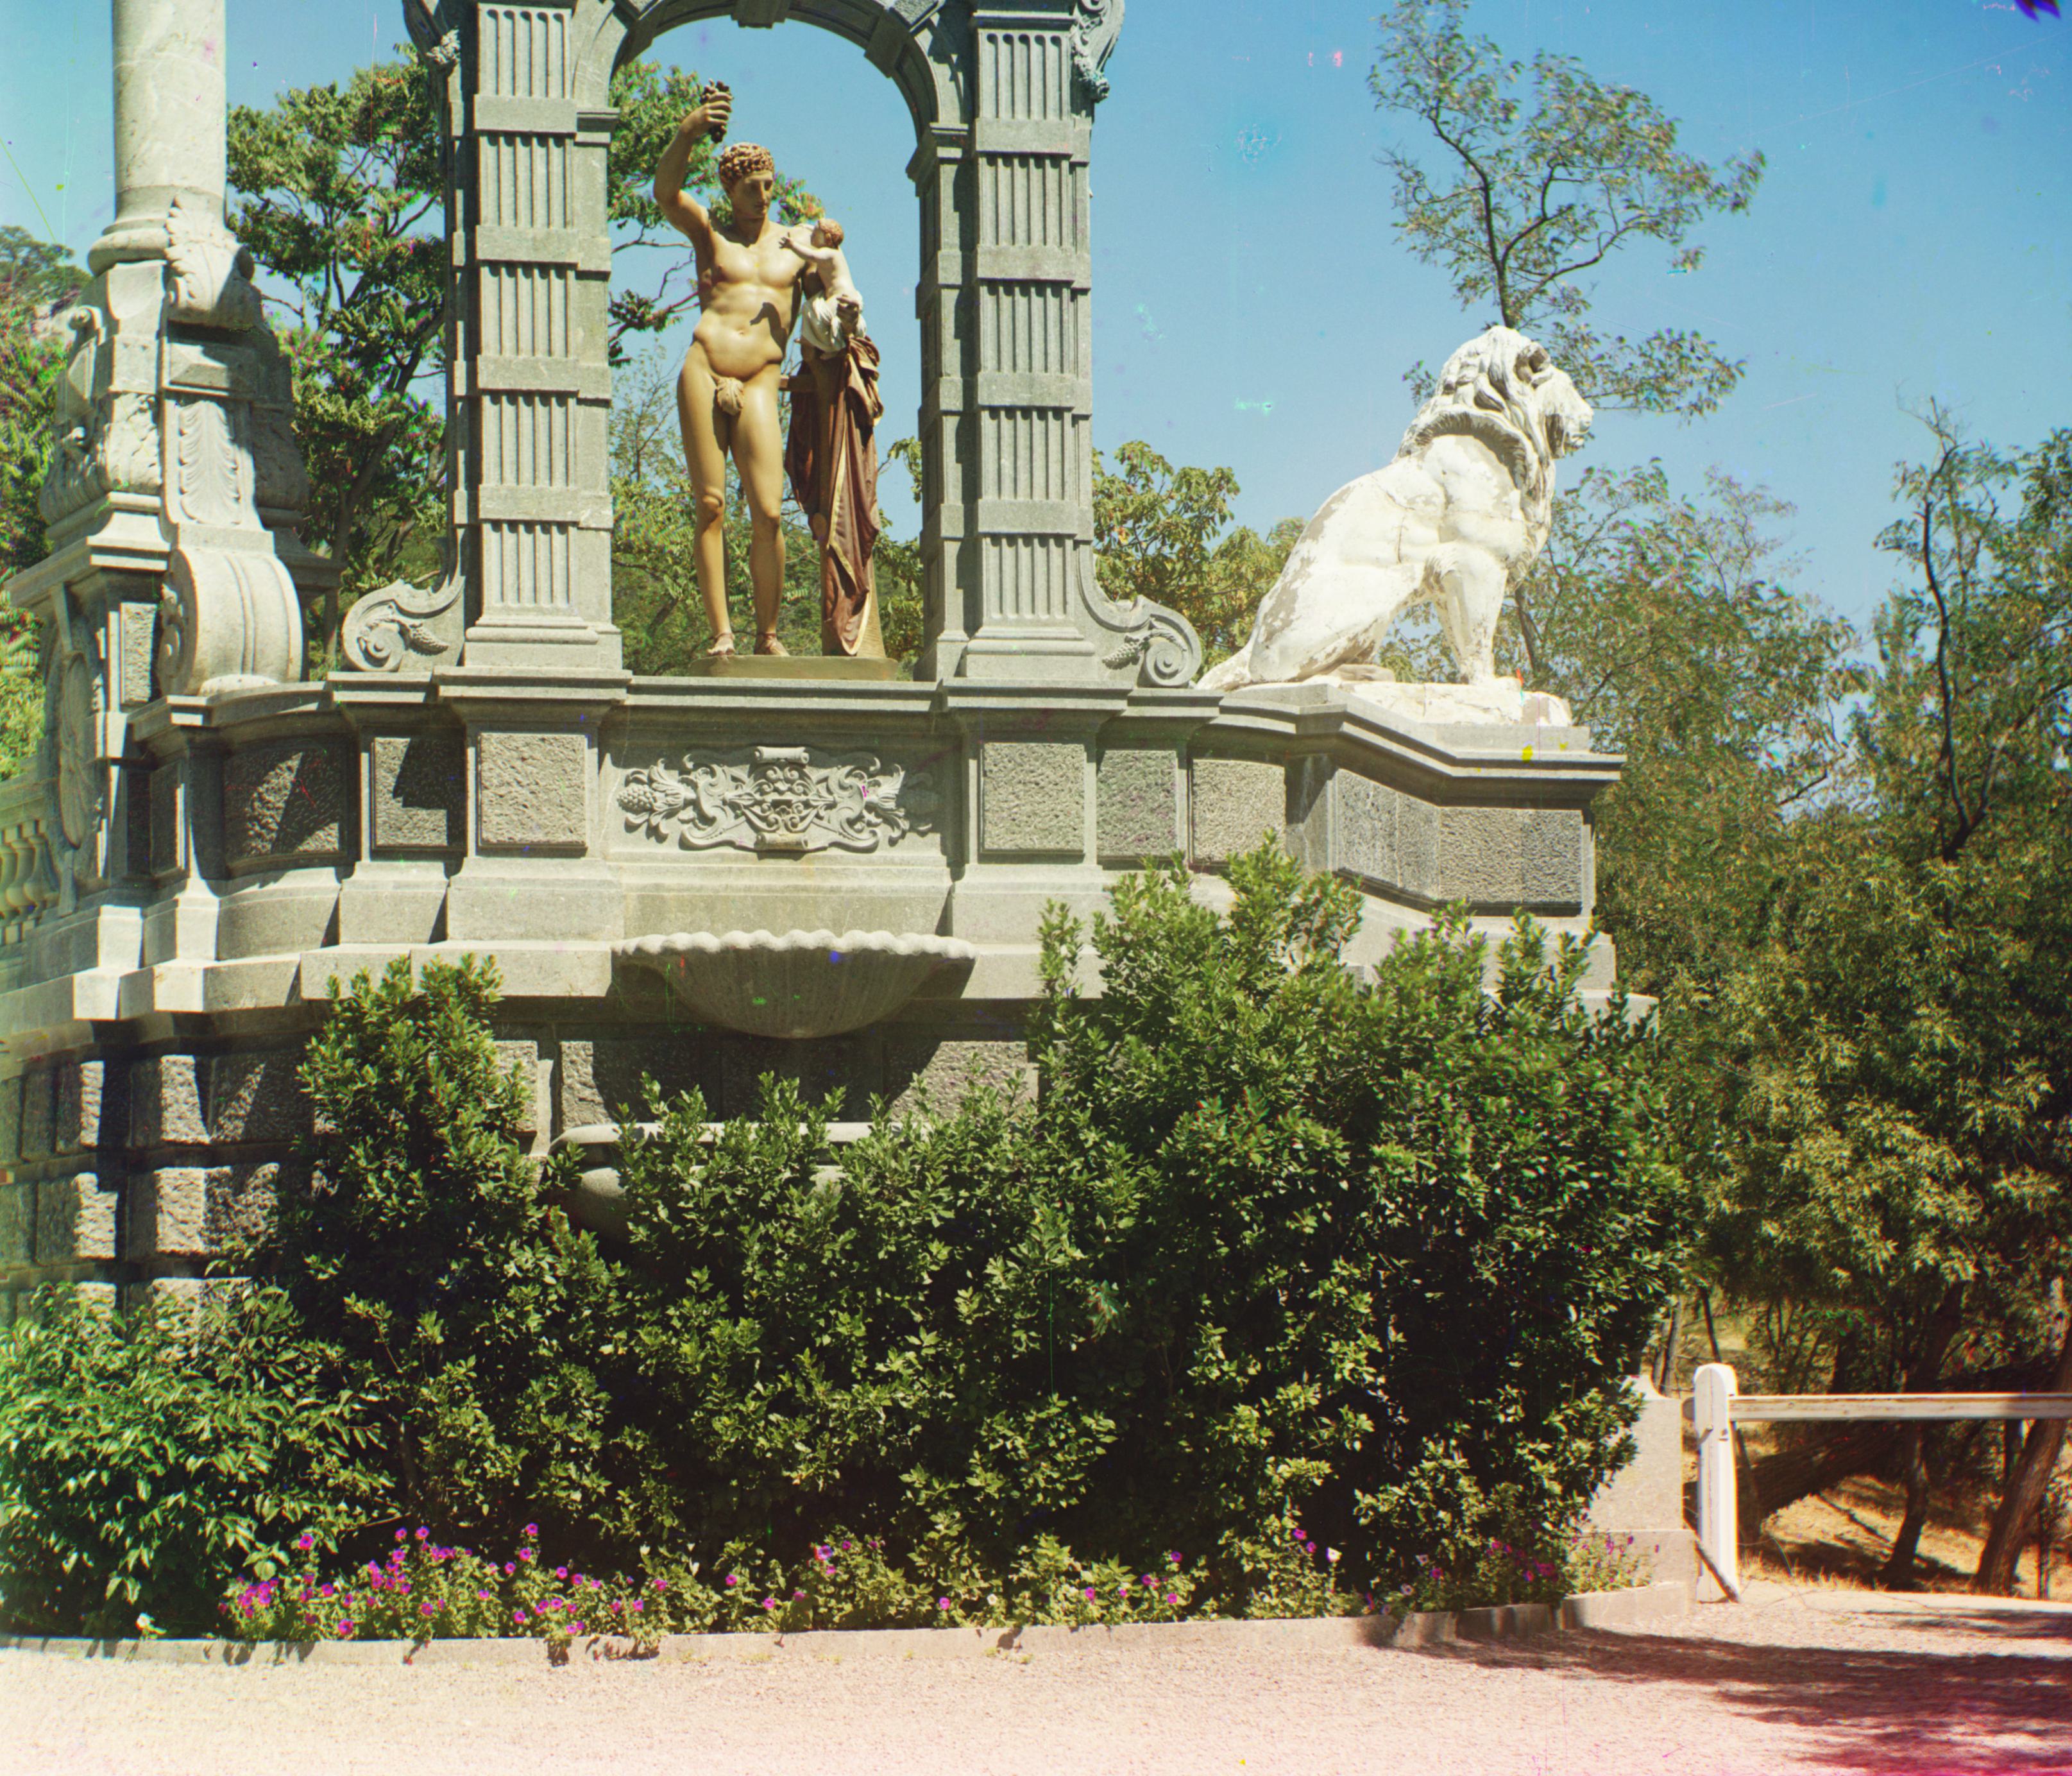
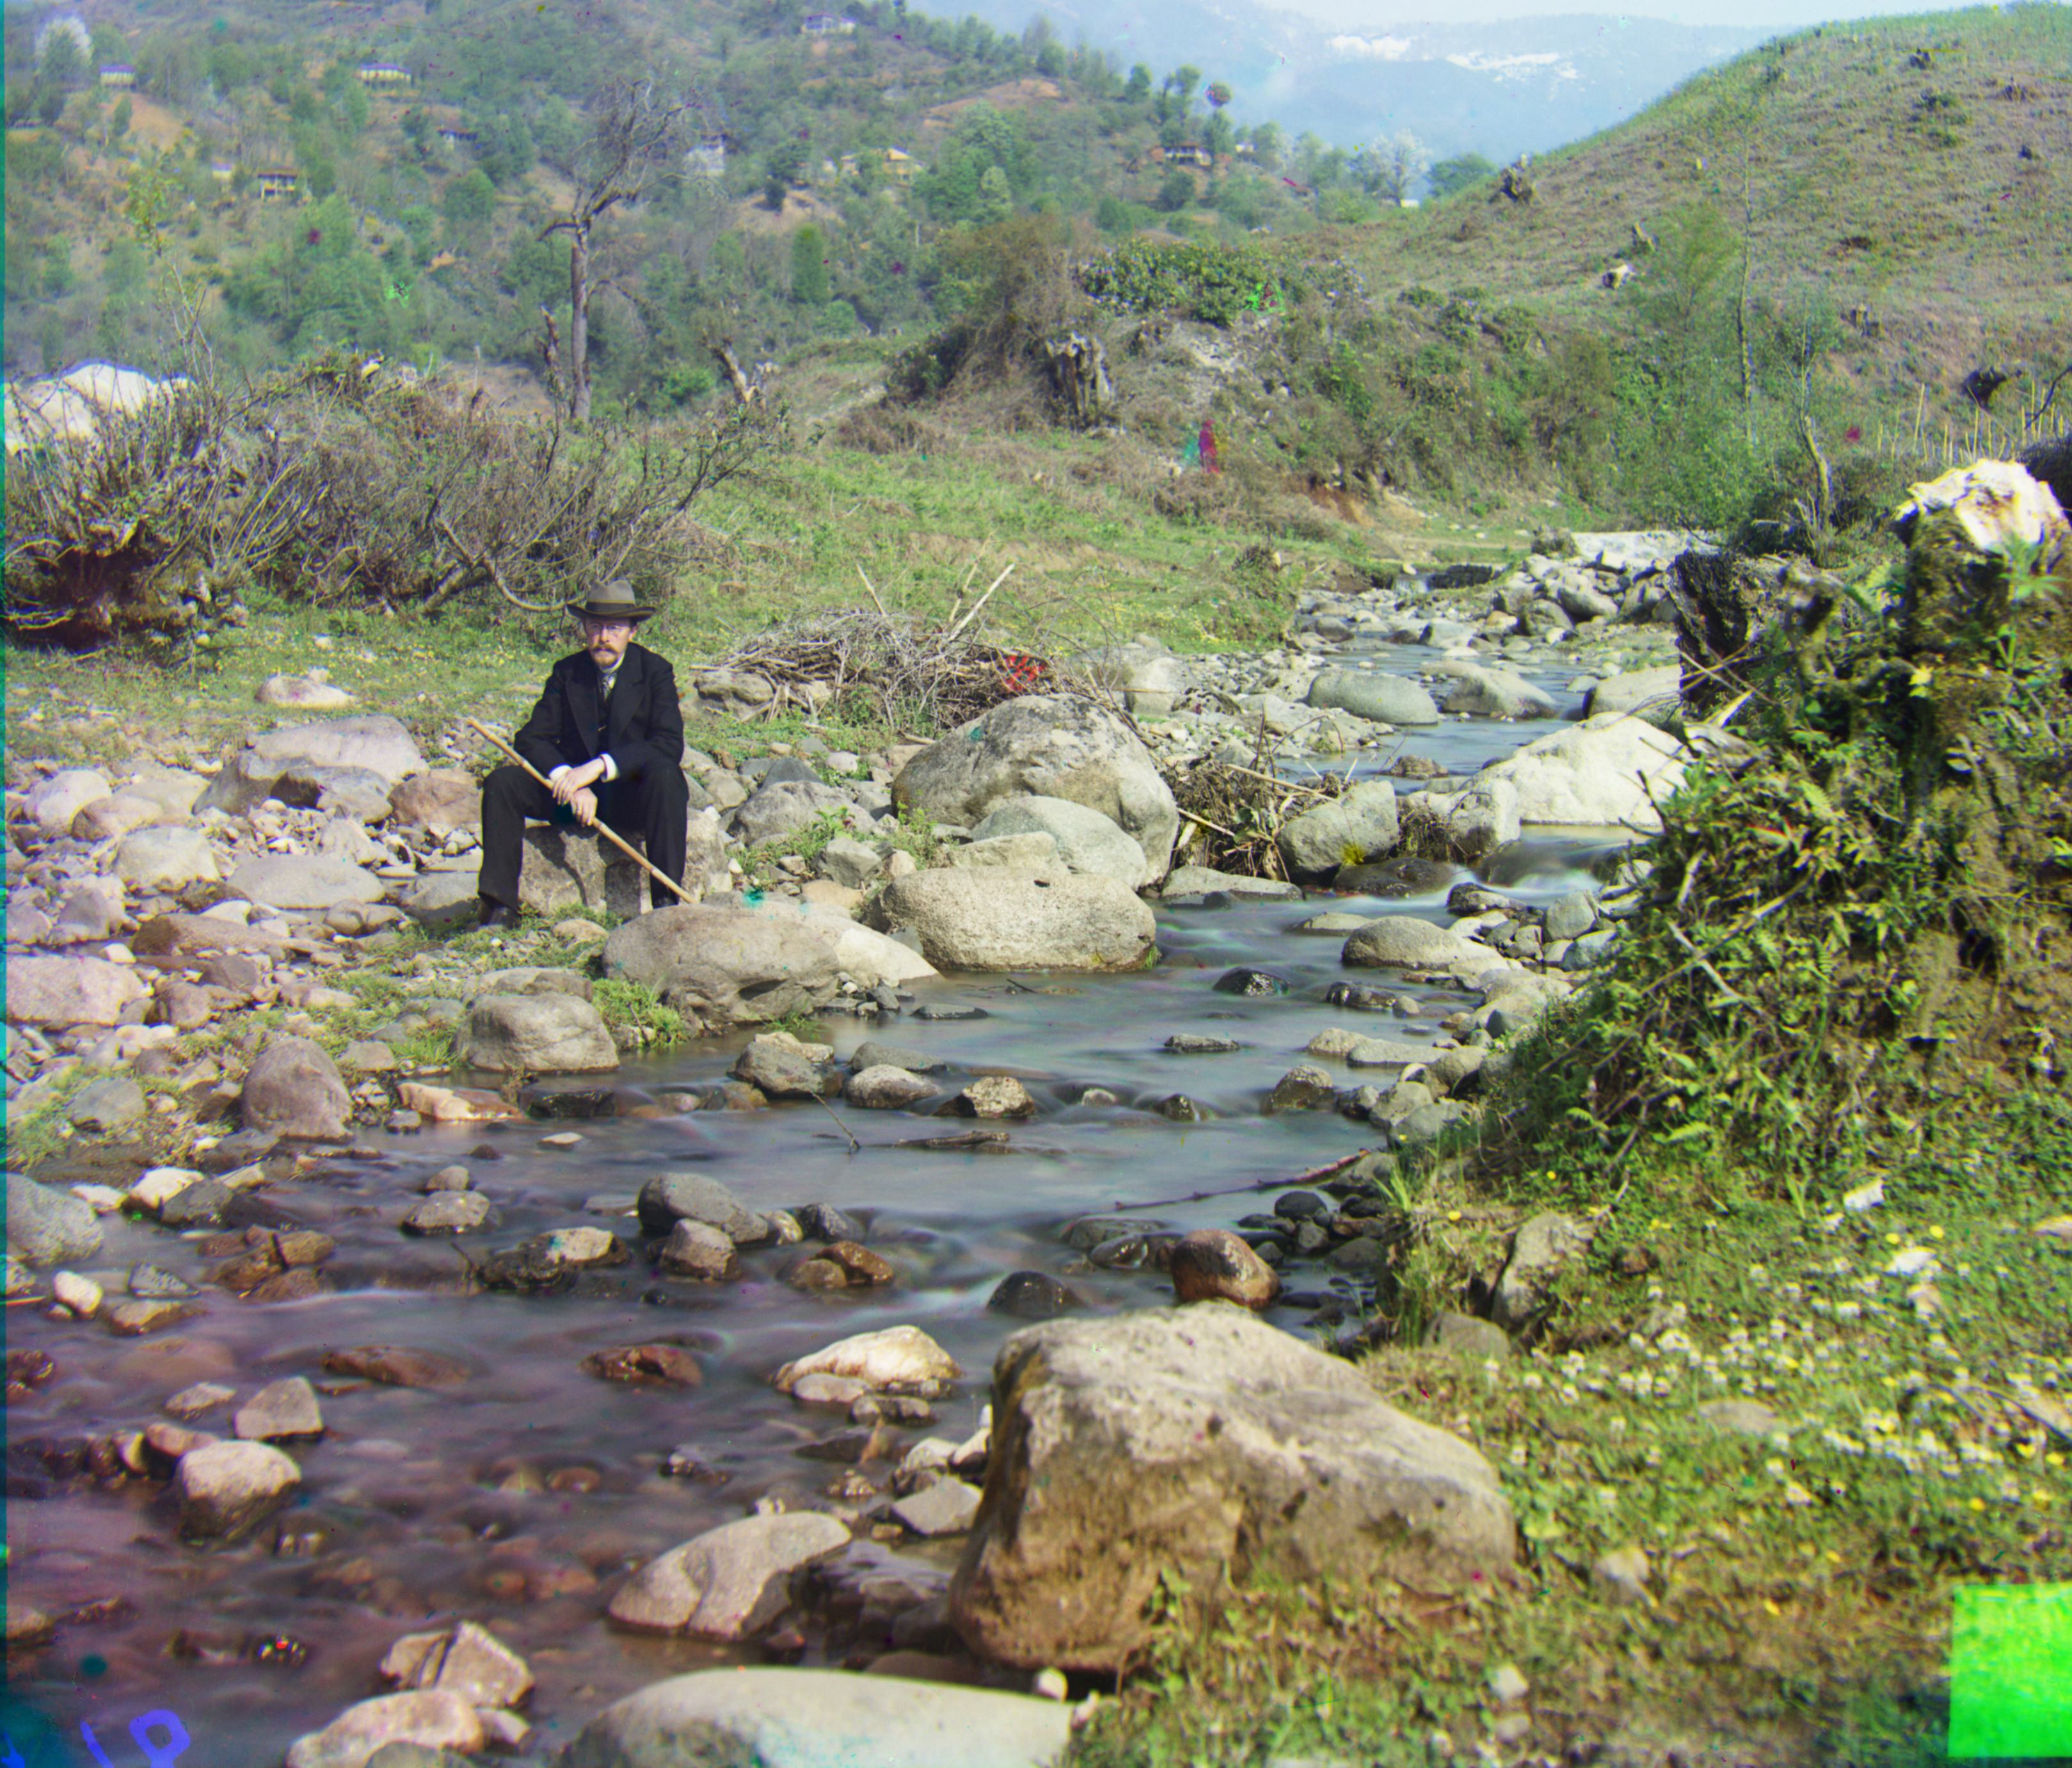
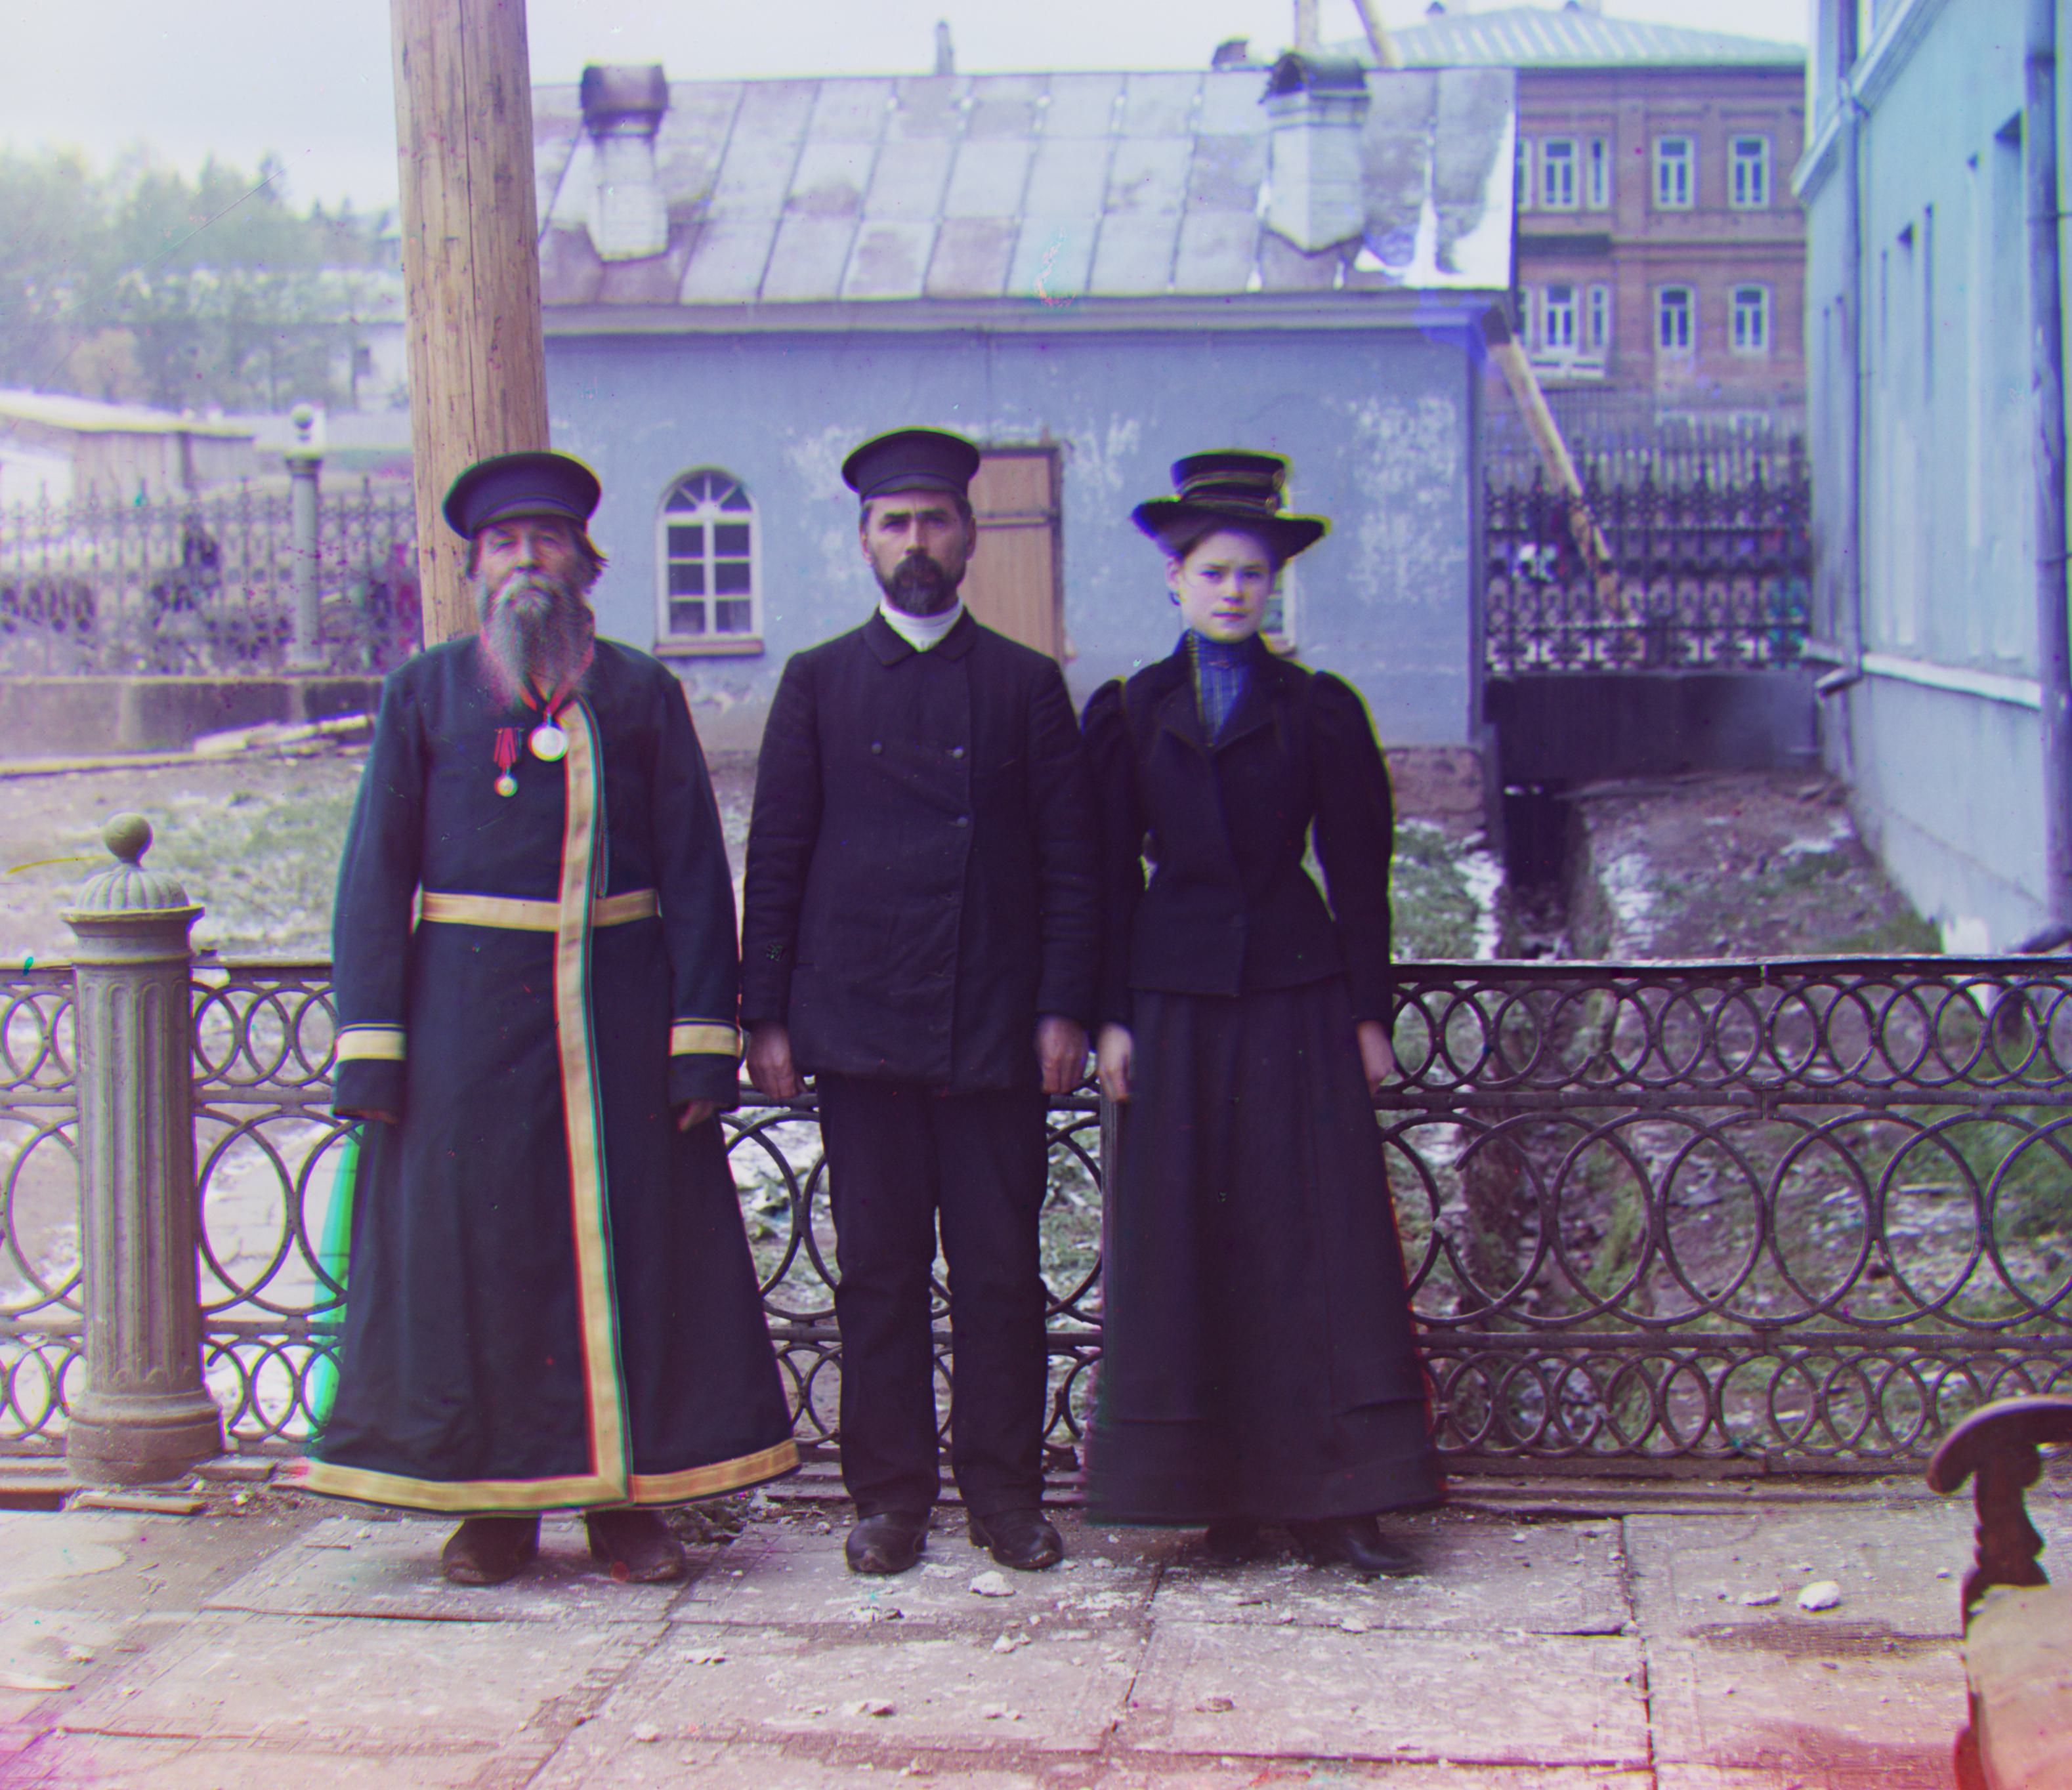

| channel | church | emir | harvesters |
|---|---|---|---|
| G offset | (33, -8) | (57, 17) | (65, -3) |
| B offset | (58, -4) | (88, 44) | (124, 13) |
| icon | lady | melons | |
| G offset | (48, 5) | (62, 3) | (96, 4) |
| B offset | (89, 23) | (117, 11) | (179, 13) |
| onion church | sculpture | self portrait | |
| G offset | (57, 10) | (107, -16) | (98, 8) |
| B offset | (108, 36) | (140, -27) | (176, 36) |
| three generations | train | ||
| G offset | (58, -3) | (43, 27) | |
| B offset | (112, 11) | (87, 32) |
Auto Contrast (Histogram Equalization)
For the Bells & Whistles, I chose to implement the histogram equalization. This method attempts to enhance the contrast by making a histogram of brightness, flattening the histogram to make sure the best spread across all brightness levels. By doing so, details in the picture become more visible. Original:


Contrasted:


Original:


Contrasted:


After auto contrast, we can observe a lot more details, especially the sky. The color also becomes slightly more vivid.
Auto Color Balance
I also performed auto color balance through forcing the brightest pixel of each channel to be 1.
Original:


Balanced:


Original:


Balanced:


Since the original picture is already pretty balanced, this does not make a big difference.
References
Wikipedia contributors. (2024, August 13). “Histogram equalization”. Wikipedia. https://en.wikipedia.org/wiki/Histogram_equalization